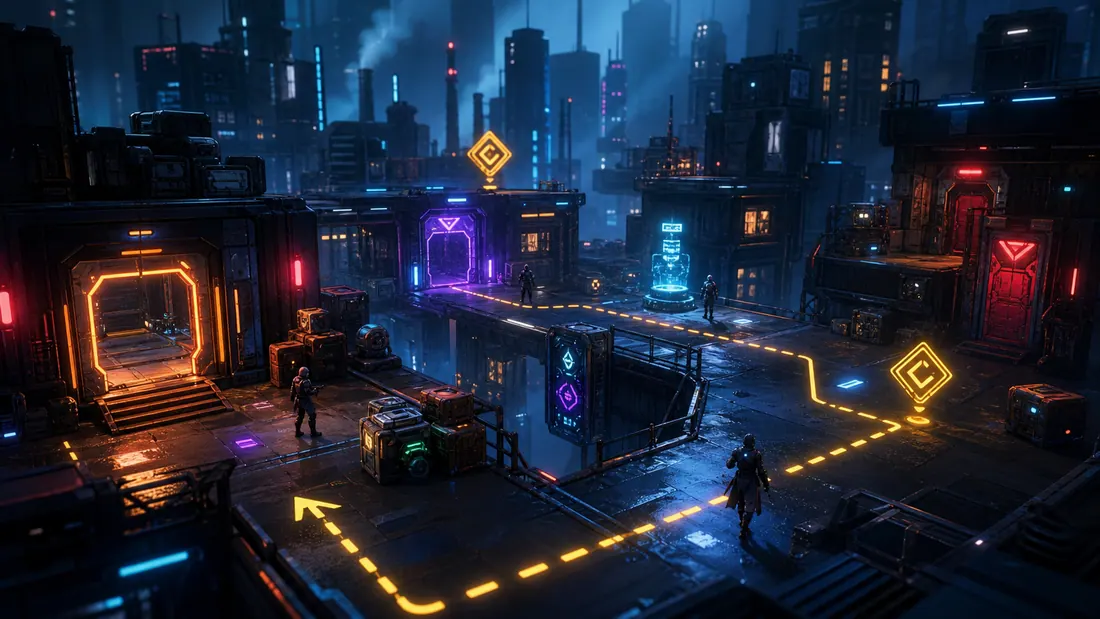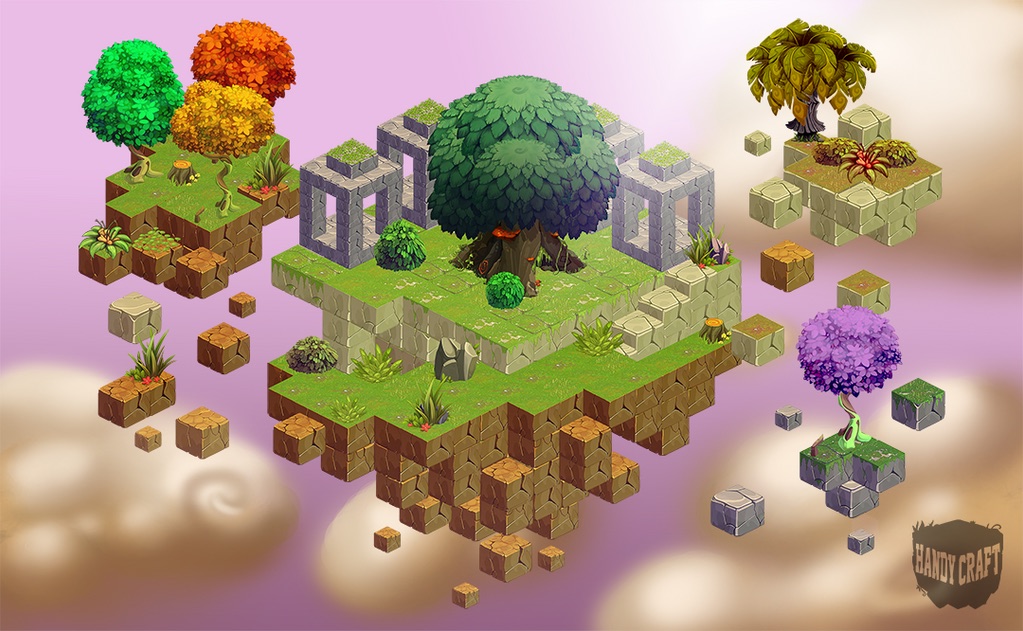

A single concept image shows one camera, one pose, one lighting setup, and only the visible surfaces. A 3D asset must answer everything outside that frame. AI can estimate those answers, but the production team still has to decide which ones are correct for the game.
If the final asset will run in a browser, read the browser optimization guide before locking texture count and mesh density; delivery constraints are cheaper to design for than to repair later.
Quick read
Key takeaways
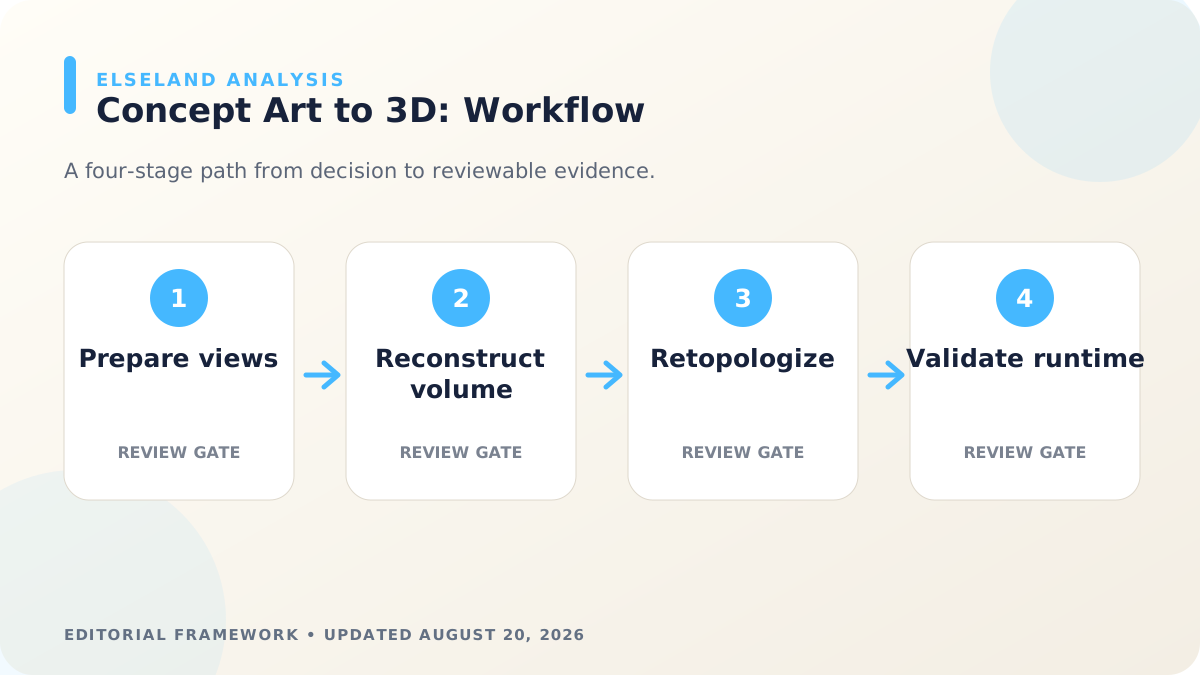
- Prepare clean front, side, and three-quarter references whenever the tool supports them.
- Treat AI output as a reconstruction draft, not a finished topology or material solution.
- Retopologize around silhouette and deformation needs before rigging.
- Validate scale, pivots, materials, animation, and performance in the destination engine.
Prepare a Reconstruction-Friendly Reference Pack
Use a neutral pose, clear silhouette, minimal perspective distortion, even lighting, and separate views when possible. Add close-ups for identity-critical details, but do not let decorative rendering obscure the underlying form.
Annotate materials, scale, movable parts, hidden surfaces, and intentional asymmetry. These notes become the human specification when generated geometry disagrees with the concept.
Generate for Volume and Proportion First
Judge early outputs by primary and secondary forms: overall mass, limb or component proportions, negative space, and recognizable silhouette. Ignore micro-surface noise until the structure is correct.
Run a turntable review. Problems hidden from the source camera often appear immediately at the back, underside, attachment points, or between closely spaced parts.
Rebuild Topology for the Asset's Job
A static prop can prioritize silhouette and material boundaries. A deforming character needs edge flow around joints and facial features. Remove internal shells, fused parts, spikes, and dense noise that do not contribute at gameplay distance.
Keep the reconstruction as a reference or high-resolution source, then create a controlled game mesh. This separation makes baking and later revisions safer than destructively simplifying the only copy.
Recreate Materials in a Portable PBR Model
Convert baked lighting and inconsistent generated textures into deliberate base color, metallic, roughness, normal, occlusion, and emissive channels as needed. Khronos documents glTF's metallic-roughness PBR model for consistent runtime exchange.
Check UV seams, texel density, padding, color space, and texture dimensions. A model can have a small mesh and still be expensive if it carries several oversized material sets.
Validate the Model in the Destination
Set units, origin, pivot, transforms, naming, collision, and LOD strategy before export. For animated assets, verify rig type, bone hierarchy, skin weights, and clip names in the engine import settings.
Use the simulation game library to frame a playable environment test, then compare the asset against real scene density rather than an isolated turntable.
Worked Example: Convert a Stylized Airship Concept
Prepare front, side, top, and three-quarter views of the airship with a scale reference. Annotate the cabin, propellers, landing gear, door, and balloon as separate functional parts. Mark which forms must remain symmetrical and which damage or repair states the game will need.
Use image-to-3D output to establish rough volume, then compare a turntable with the concept at the intended camera distances. Rebuild the propellers, door, and landing gear as independent parts with usable pivots. Retopologize the hull around silhouette and material boundaries, then bake or repaint portable PBR textures.
| Review pass | Question | Evidence |
|---|---|---|
| Primary form | Does the silhouette match from key views? | Overlay and turntable captures |
| Functional parts | Can required components move independently? | Named hierarchy and pivot test |
| Surface | Do normals, UVs, and materials hold under game lighting? | Neutral-light engine capture |
| Runtime | Does the model fit scene and memory budgets? | Representative scene profile |
| Revision | Can another artist make a controlled change? | Editable source and asset notes |
Use a Three-Mesh Strategy
Keep the raw reconstruction, a controlled production mesh, and one or more delivery meshes. The raw mesh preserves generated volume and can support baking. The production mesh is the editable source of truth. Delivery meshes are optimized, triangulated, compressed, and configured for specific runtimes.
Do not repeatedly decimate the only file. A delivery export should be reproducible from the production source, including texture processing, compression, LOD generation, and engine import settings.
- Reconstruction mesh: reference volume and high-frequency source
- Production mesh: clean topology, UVs, parts, rig readiness, editable materials
- Delivery mesh: target-specific triangles, materials, textures, compression, and metadata
- Validation artifacts: turntables, engine captures, profiler results, and known limitations
Repair Image-to-3D Artifacts Systematically
Single-view reconstruction often collapses the back, fills negative spaces, mirrors intentional asymmetry, or bakes lighting into texture. Multi-view input reduces ambiguity but does not remove the need for human decisions about unseen structure and function.
Blender's glTF exporter documents the features that survive runtime delivery, while Unity's rig importer clarifies skeleton expectations. Use those boundaries to decide whether a defect belongs in modeling, material authoring, rigging, export, or engine configuration.
| Symptom | Likely cause | Next check |
|---|---|---|
| Back is melted or flat | No source evidence | Model or sculpt from annotated side/top views |
| Openings are filled | Reconstruction treats negative space as volume | Cut and rebuild intentional holes |
| Textures contain shadows | Source lighting baked into color | Repaint base color and rebuild PBR channels |
| Parts cannot animate | Fused mesh or bad pivot | Separate and name functional components |
| Rig collapses | Uncontrolled topology and weights | Retopologize deformation zones before skinning |
Concept-to-3D Handoff Checklist
The final handoff should explain where the model follows the concept and where production decisions filled missing information. This is especially important when one image leaves the back, underside, joints, or scale ambiguous.
Review the asset in neutral lighting and production lighting. A generated texture can look convincing only because its baked highlights match the source image; rotating the light exposes whether the material itself is coherent.
- Reference views are aligned, rights-cleared, and annotated with scale and moving parts.
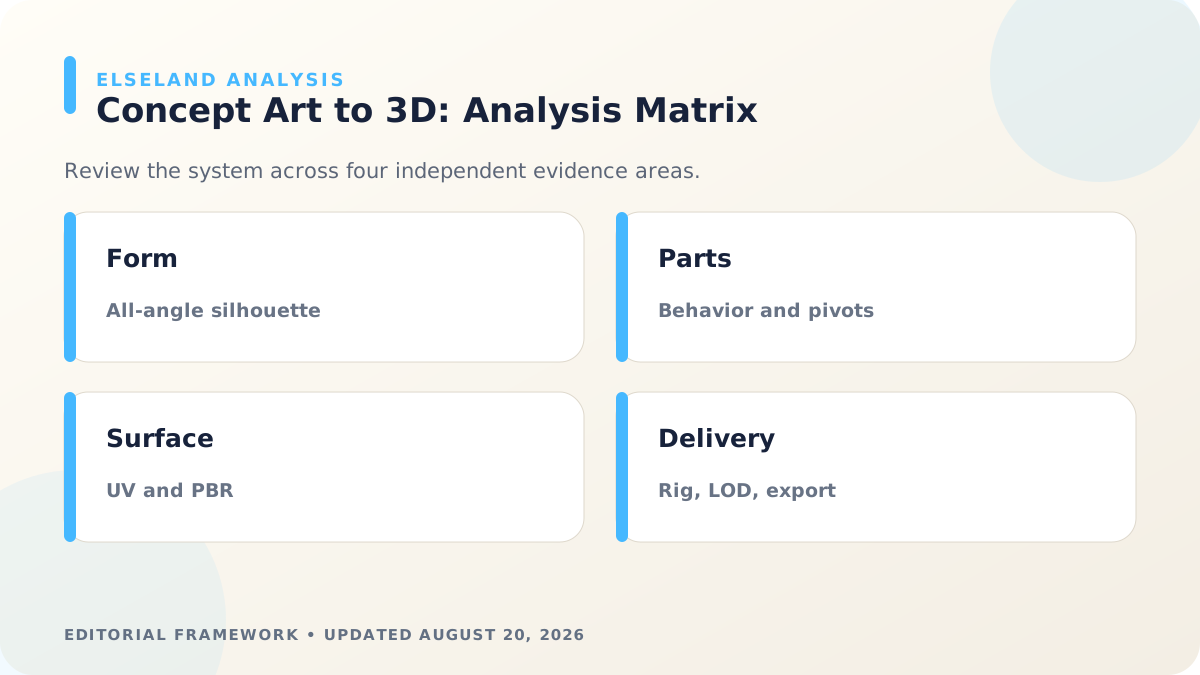
- Primary and secondary forms pass an all-angle silhouette review.
- Functional parts have correct separation, hierarchy, pivots, and naming.
- Topology, normals, UVs, texel density, and PBR channels pass inspection.
- Rig, collision, LOD, and target export requirements are documented.
- Production source, delivery output, and validation captures are versioned together.
What the Primary Sources Establish About Concept Art to 3D Model
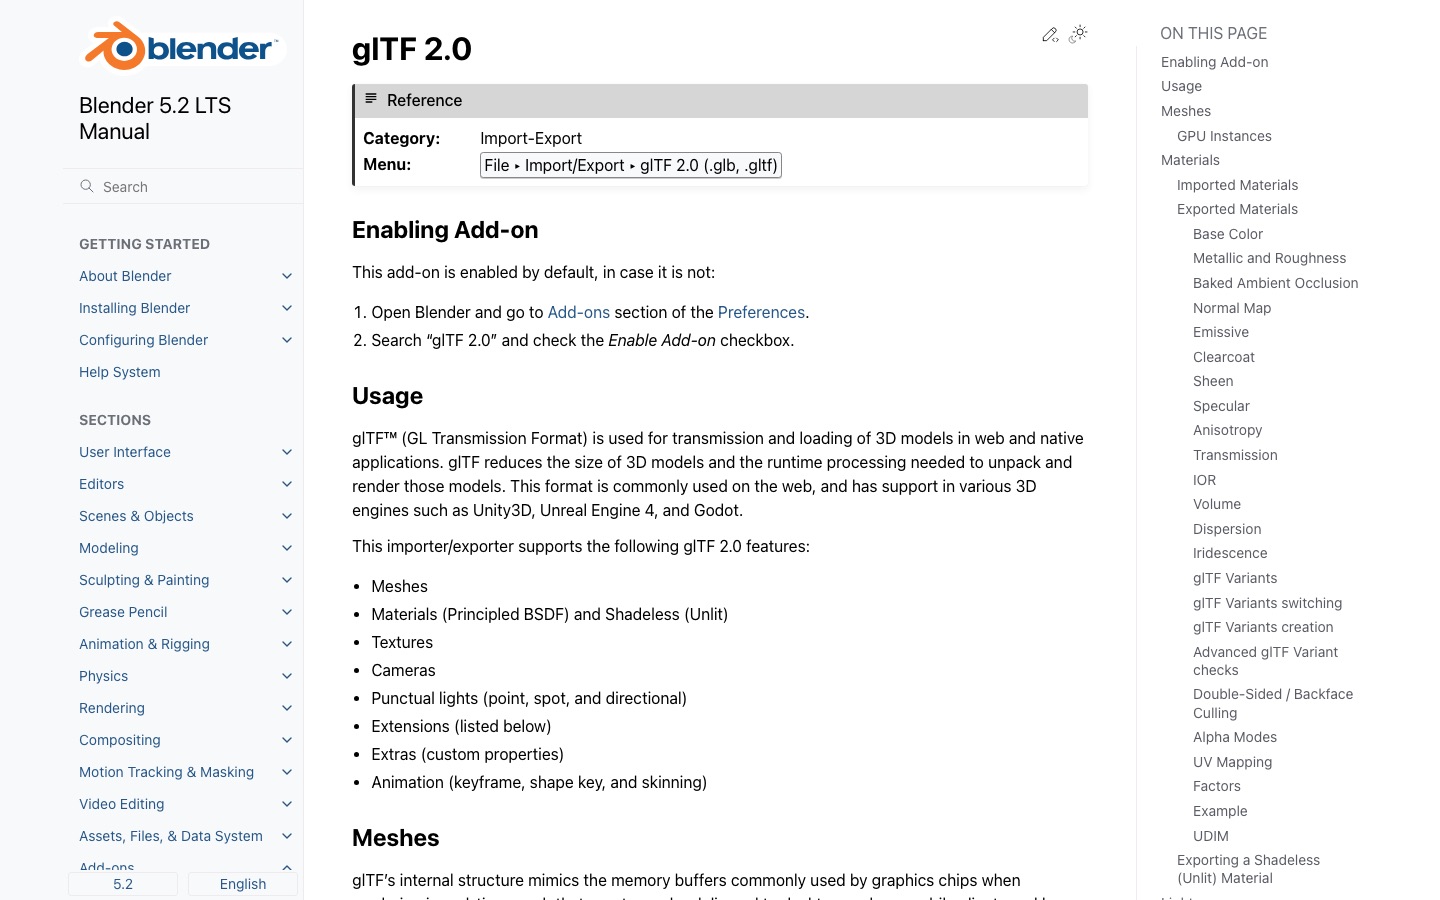
Our evidence baseline starts with the Blender glTF 2.0 manual, accessed August 20, 2026. We use it to establish documented behavior, terminology, or constraints—not to claim that the source endorses Elseland's workflow or conclusions. The practical artifact under review is a multi-view concept packet, structured mesh, material set, rig test, and validated runtime export.
That distinction is central to E-E-A-T. A first-party page can establish what a format, tool, platform, model, or game team publicly documents. It cannot prove that a particular asset is fast, accessible, legally cleared, fun, or production-ready. Those conclusions require separate observation, measurement, specialist review, or player evidence tied to the actual project.
For this topic, the decision is whether the 3D asset preserves the concept while remaining editable, animatable, and affordable to render. The following observations turn the official reference into a reviewable production record rather than a decorative citation:
| Evidence layer | What it can support | What it cannot support alone |
|---|---|---|
| Official source | Documented feature, rule, format, or published design context | Project-specific quality or universal performance |
| Project measurement | Observed behavior in a named build, scene, device, or sample | Unmeasured platforms or future versions |
| Human review | Usability, visual, editorial, and production judgment | Legal certainty or population-level player behavior |
| Release record | Who approved what, when, with which evidence | Permanent compliance after inputs or rules change |
- 1. resolve contradictory views before generating geometry. Store the result with the asset or build identifier so another reviewer can reproduce the conclusion.
- 2. separate rigid, deforming, removable, and simulated parts. Store the result with the asset or build identifier so another reviewer can reproduce the conclusion.
- 3. evaluate silhouette from gameplay angles, not only the concept camera. Store the result with the asset or build identifier so another reviewer can reproduce the conclusion.
- 4. validate materials, skinning, scale, and hierarchy after export. Store the result with the asset or build identifier so another reviewer can reproduce the conclusion.
A Field Review Protocol for Concept Art to 3D Model
Use this protocol after the first plausible output exists and before scaling the workflow. Keep one untouched baseline, one candidate revision, and one deliberately stressed case. The stressed case should expose the topic's likely failure mode—crowded scenes, extreme poses, small-screen play, unusual inputs, or a release-rule change—rather than merely repeat the easiest success case.
Run the review in the real delivery context whenever possible. Capture the tool or model version, source files, settings, target device or engine, date, and reviewer. If the work depends on a changing external service, record the response or exported artifact instead of assuming the same output can be recreated later.
A useful review ends with a decision and a next action. “Looks good” is not a gate. State whether the candidate passes, passes with a bounded exception, needs revision, or should be rejected; identify the evidence behind that status and the owner of the next check.
| Review status | Meaning | Required next action |
|---|---|---|
| Pass | All defined visual, technical, and release gates are supported by evidence | Freeze the reviewed artifact and link it to the build |
| Conditional pass | A known limitation is bounded and does not invalidate the intended use | Document the exception, owner, and trigger for re-review |
| Revise | The direction is viable but one or more gates remain unsupported | Change one controlled variable and repeat the affected checks |
| Reject | The candidate conflicts with the intended use, evidence, rights, safety, or budget | Preserve the record and choose a different approach |
- prepare front, side, back, scale, and material references. Record the expected result before the check, then attach the observed result and any exception after it.
- block primary volumes before surface detail. Record the expected result before the check, then attach the observed result and any exception after it.
- retopologize around silhouette and deformation needs. Record the expected result before the check, then attach the observed result and any exception after it.
- lay out UVs according to texel-density priorities. Record the expected result before the check, then attach the observed result and any exception after it.
- bind and stress-test the rig with extreme poses. Record the expected result before the check, then attach the observed result and any exception after it.
- export, validate, and inspect in the target renderer. Record the expected result before the check, then attach the observed result and any exception after it.
Expert Interpretation and Limits of This Game Assets & 3D Guide
The strongest conclusion this guide can support is a conditional production recommendation: use the workflow when its documented assumptions match the project, and keep the evidence needed to revisit the decision. We do not infer universal model quality, player preference, legal clearance, or performance from an official screenshot, a provider example, or a single successful asset.
Experience matters here because concept art to 3d model crosses creative judgment and implementation detail. The practical review should include the people who will edit the source, integrate the result, test it in play, maintain it after release, and answer rights or policy questions. A narrow expert handoff often misses problems that appear only when those responsibilities meet.
Before publishing or shipping, repeat time-sensitive checks against the current source and exact build. Preserve dated evidence, disclose the evaluation method, and distinguish measured results from editorial inference. That record is more valuable than a confident conclusion that future reviewers cannot reproduce.
| Claim type | Editorial treatment |
|---|---|
| Documented fact | Link to Blender glTF 2.0 manual and include the access date |
| Observed project result | Name the build, environment, sample, and method |
| Expert judgment | State the criteria, reviewer role, and tradeoff |
| Inference or forecast | Label it explicitly and describe what evidence could change it |
- Single-view reconstruction must infer hidden structure and should be labeled accordingly.
- A detailed mesh can remain unsuitable for animation or editing.
- PBR values depend on renderer, lighting, and color-management context.
- Successful export does not prove acceptable scene-level performance.
Frequently asked questions
Can AI turn one concept image into an accurate 3D model?
It can estimate a plausible model, but unseen surfaces, true proportions, materials, topology, and scale remain ambiguous. Multiple views and human correction improve reliability.
Is an AI-generated 3D mesh game-ready?
Not automatically. Inspect topology, normals, UVs, materials, pivots, scale, collision, rig readiness, texture cost, and runtime performance.
Should I retopologize an image-to-3D result?
Retopology is usually worthwhile when the asset must deform, repeat many times, meet a strict budget, or remain easy to edit. Simple background props may need lighter cleanup.
What format should I export for a browser game?
GLB/glTF is widely used for runtime 3D delivery. Validate the complete asset and profile it in the target renderer rather than relying on format choice alone.
How many concept-art views are enough for image-to-3D?
Front, side, and three-quarter views usually reduce major ambiguity; top and back views help for vehicles, buildings, and asymmetrical designs. More views are useful only when they remain aligned and stylistically consistent.
Should generated textures be kept?
Keep them when they provide useful reference or clean material information, but inspect for baked shadows, inconsistent details, seams, and invented text. Production assets often need repainted base color and deliberately reconstructed PBR channels.
How do I decide which 3D parts to separate?
Separate parts that move, change material, break, swap, carry different collision, require independent LOD, or need different authoring ownership. Avoid splitting pieces only because the generator created disconnected fragments.
What should be approved before rigging?
Approve scale, proportions, silhouette, topology around deformation zones, symmetry decisions, part hierarchy, transforms, and the neutral bind pose. Rigging a structurally unstable mesh makes later corrections more expensive.
Sources and further reading
- Blender glTF 2.0 manual
Official export documentation covering meshes, materials, animation, and skinning.
- Khronos glTF PBR
Primary reference for physically based material channels in glTF.
- Unity Rig import settings
Official engine guidance for imported rigs and animation types.
Next step