

Structural modeling is the bridge between a shape that looks good in one render and an asset that behaves predictably in a game. It gives the mesh a reasoned layout for deformation, shading, texturing, collision, optimization, and later edits.
AI-generated geometry often makes this review more important, not less. Use the concept-to-3D guide for reconstruction, then apply the structural checks below before rigging or optimization.
Quick read
Key takeaways
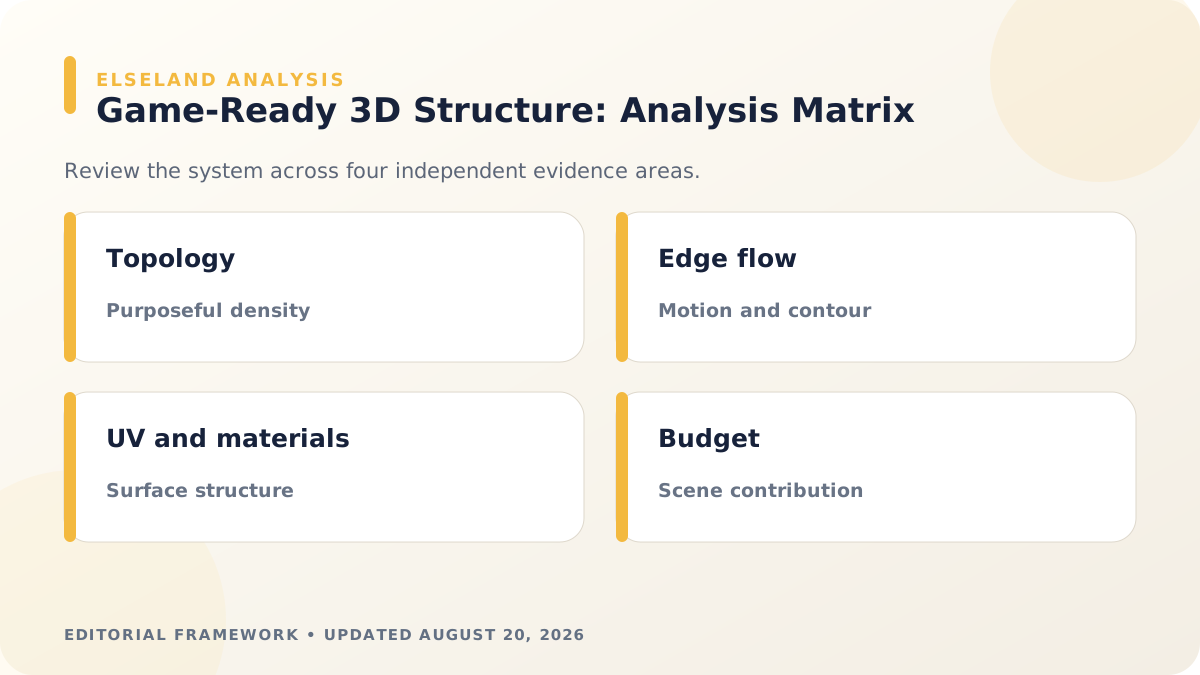
- Topology should support silhouette, deformation, shading, and revision—not visual density for its own sake.
- Edge flow matters most where surfaces bend or the contour carries identity.
- UV seams and hard edges can increase exported vertex counts even when the modeling viewport reports fewer vertices.
- Budget complete assets in representative scenes, including materials and textures, not polygons alone.
Topology Is a Production Decision
Use loops and density where the model bends, changes silhouette, or needs stable shading. Flat hidden areas can stay simpler. Remove duplicate faces, internal shells, accidental holes, non-manifold intersections, and tiny fragments that complicate baking or collision.
Triangles are normal at runtime, but triangulation should not create unpredictable shading or deformation. Inspect the delivered mesh, not only the editable quad layout.
Place Edge Flow Around Motion and Form
Characters need controlled loops around shoulders, elbows, hips, knees, mouth, and eyes. Mechanical assets need clean separation around hinges, panels, and parts that rotate. Static props can prioritize silhouette and material boundaries.
Test extreme poses early. A dense but disorganized joint may deform worse than a lighter mesh with deliberate flow.
Treat UVs and Materials as Runtime Structure
Plan seams for hidden or logical boundaries, maintain useful texel density, pad islands, and avoid extreme stretching. Consolidate materials when it reduces draw overhead without making authoring or visual control worse.
Blender's glTF exporter notes that discontinuous UVs and flat-shaded edges split vertices in the delivered format. That is why exported statistics can differ from the modeling viewport.
Set Pivots, Scale, and Hierarchy Deliberately
Place pivots where objects rotate, snap, spawn, or align. Apply transforms, use consistent units, name nodes clearly, and separate only the components that need independent behavior.
A clean hierarchy improves animation, collision setup, runtime instancing, and debugging. Empty nesting created by generation or conversion should be removed unless it carries a documented purpose.
Build a Context-Based Budget
Measure triangles, meshes, primitives, materials, texture memory, skin influences, and visible instance count in a representative scene. A single hero model and fifty repeated props should not share one arbitrary target.
For browser projects, connect these structural decisions to loading, draw calls, memory, and target-device profiling in the dedicated optimization guide.
Worked Example: Structure a Deforming Creature
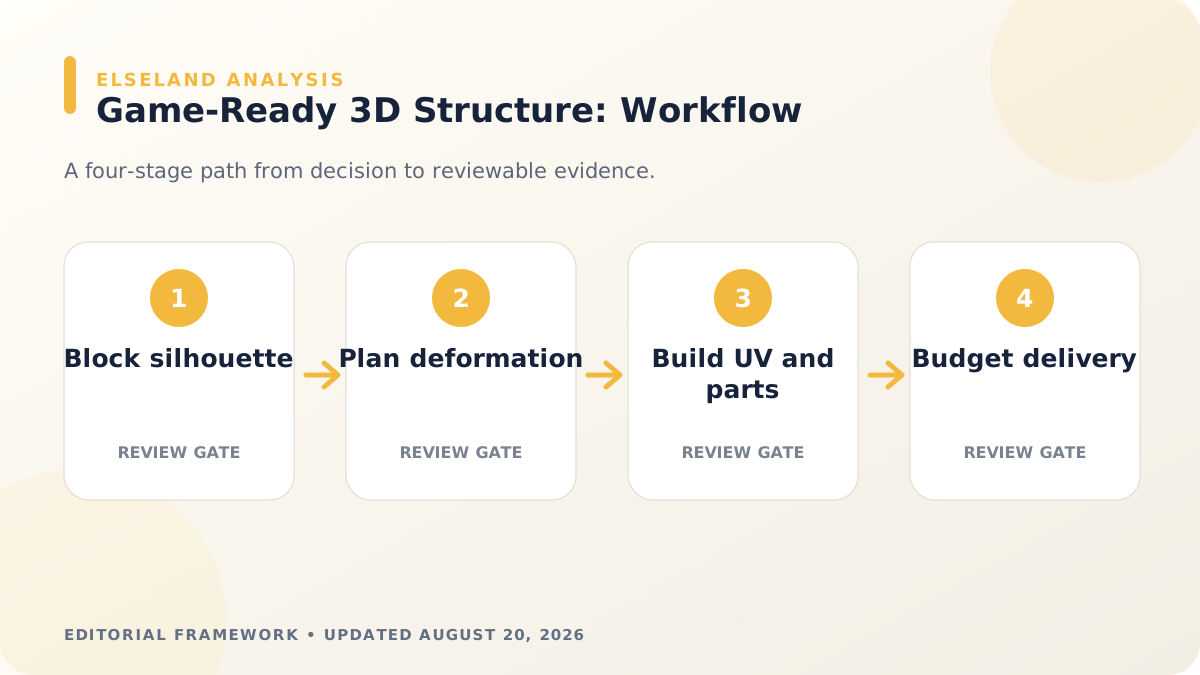
Block the creature at the lowest density that preserves its head, spine, limb, and tail silhouette. Mark deformation zones before adding surface detail: jaw, shoulder, elbow, wrist, hip, knee, ankle, and tail bends. Add loops only when a test pose shows the current structure cannot hold volume or shading.
Separate horns, armor plates, eyes, and accessories according to movement and material needs rather than visual fragments in the generated source. Build UV islands around logical seams, keep consistent texel density, and create a lower-cost delivery mesh from the approved production source.
| Structure | Purpose | Test |
|---|---|---|
| Silhouette loops | Preserve identity at camera distance | Turntable at near, typical, far |
| Deformation loops | Support bending and volume | Extreme pose sheet |
| UV seams | Control distortion and painting | Checker texture and padding |
| Material boundaries | Express surface differences | Draw/material count review |
| Hierarchy/pivots | Enable behavior and revision | Animation and placement test |
Budget by Screen Contribution
Classify geometry as silhouette, deformation, shading, or hidden support. Silhouette vertices earn value when they change the contour at the expected camera; deformation vertices earn value when they preserve volume; shading geometry earns value when it produces stable highlights that textures cannot; hidden support should be justified explicitly.
Repeat the classification at each LOD. A distant version may keep the head crest silhouette while removing finger loops, interior mouth geometry, and secondary armor bevels. The budget follows what survives on screen, not a fixed reduction percentage.
- Measure near, typical, and far camera contribution.
- Protect identity-critical contours before internal density.
- Reduce materials and primitives alongside triangles.
- Include texture memory, skinning, shadows, and instance count in the budget.
- Inspect the exported triangulation and vertex splits, not only edit-mode counts.
Diagnose Structural Failures
Pinching can come from poor edge flow, insufficient support, uneven weights, or triangulation. Wavy highlights can come from normals, stretched polygons, or over-dense noisy geometry. UV seams and flat edges can increase runtime vertices because delivery formats split attributes.
The glTF specification describes separate vertex attributes and primitives, while Blender documents how UV discontinuities and flat shading create exported splits. Use those facts when viewport statistics and delivered statistics disagree.
| Symptom | Likely cause | Next check |
|---|---|---|
| Joint collapses | Flow, density, weights, or bind pose | Extreme-pose and weight heat-map review |
| Highlight ripples | Noisy topology or normals | Neutral glossy material test |
| Unexpected vertex count | UV, normal, or material splits | Inspect exported primitive attributes |
| Too many draw calls | Fragmented meshes or materials | Consolidate by runtime behavior |
| LOD pops | Silhouette or material changes too abruptly | Side-by-side distance transition test |
Structural Modeling Review Sheet
Review the structure with diagnostic materials: wireframe, checker UV, neutral glossy shading, flat shading, and skin-weight heat maps. A beauty render hides the evidence needed for topology decisions.
Ask another artist to make one controlled change, such as lengthening a limb or swapping a panel. Editability is part of game readiness because production assets rarely remain frozen after the first approval.
- Primary forms and identity-critical silhouette are correct at target distances.
- Topology density has a stated silhouette, deformation, shading, or support purpose.
- Extreme poses preserve volume without intersections or unstable shading.
- UV seams, texel density, padding, hard edges, and normals are intentional.
- Parts, pivots, hierarchy, materials, collision, and LOD boundaries match behavior.
- Exported triangles, vertices, primitives, textures, and instance cost meet the scene budget.
What the Primary Sources Establish About 3D Structural Modeling
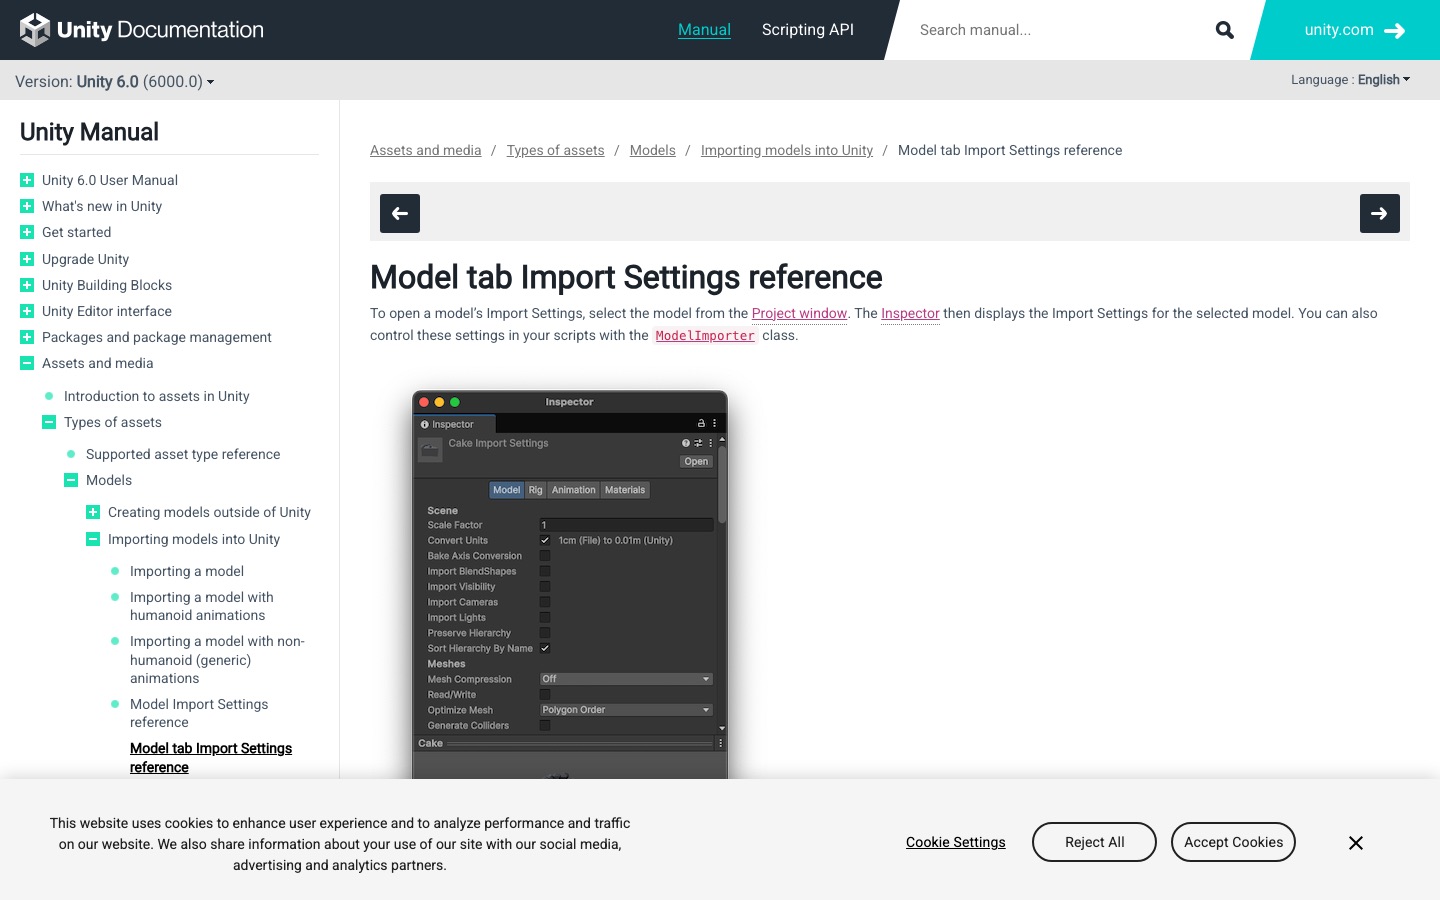
Our evidence baseline starts with the Unity model import settings, accessed August 20, 2026. We use it to establish documented behavior, terminology, or constraints—not to claim that the source endorses Elseland's workflow or conclusions. The practical artifact under review is a topology and hierarchy review shown alongside UVs, deformation tests, import settings, and scene budget.
That distinction is central to E-E-A-T. A first-party page can establish what a format, tool, platform, model, or game team publicly documents. It cannot prove that a particular asset is fast, accessible, legally cleared, fun, or production-ready. Those conclusions require separate observation, measurement, specialist review, or player evidence tied to the actual project.
For this topic, the decision is whether the model's structure supports its intended edits, motion, materials, and runtime contribution. The following observations turn the official reference into a reviewable production record rather than a decorative citation:
| Evidence layer | What it can support | What it cannot support alone |
|---|---|---|
| Official source | Documented feature, rule, format, or published design context | Project-specific quality or universal performance |
| Project measurement | Observed behavior in a named build, scene, device, or sample | Unmeasured platforms or future versions |
| Human review | Usability, visual, editorial, and production judgment | Legal certainty or population-level player behavior |
| Release record | Who approved what, when, with which evidence | Permanent compliance after inputs or rules change |
- 1. allocate geometry to silhouette, deformation, and shading rather than uniform density. Store the result with the asset or build identifier so another reviewer can reproduce the conclusion.
- 2. align edge flow with expected bends and shape changes. Store the result with the asset or build identifier so another reviewer can reproduce the conclusion.
- 3. define object boundaries from behavior and material needs. Store the result with the asset or build identifier so another reviewer can reproduce the conclusion.
- 4. evaluate imported vertex, normal, tangent, and mesh settings after the DCC stage. Store the result with the asset or build identifier so another reviewer can reproduce the conclusion.
A Field Review Protocol for 3D Structural Modeling
Use this protocol after the first plausible output exists and before scaling the workflow. Keep one untouched baseline, one candidate revision, and one deliberately stressed case. The stressed case should expose the topic's likely failure mode—crowded scenes, extreme poses, small-screen play, unusual inputs, or a release-rule change—rather than merely repeat the easiest success case.
Run the review in the real delivery context whenever possible. Capture the tool or model version, source files, settings, target device or engine, date, and reviewer. If the work depends on a changing external service, record the response or exported artifact instead of assuming the same output can be recreated later.
A useful review ends with a decision and a next action. “Looks good” is not a gate. State whether the candidate passes, passes with a bounded exception, needs revision, or should be rejected; identify the evidence behind that status and the owner of the next check.
| Review status | Meaning | Required next action |
|---|---|---|
| Pass | All defined visual, technical, and release gates are supported by evidence | Freeze the reviewed artifact and link it to the build |
| Conditional pass | A known limitation is bounded and does not invalidate the intended use | Document the exception, owner, and trigger for re-review |
| Revise | The direction is viable but one or more gates remain unsupported | Change one controlled variable and repeat the affected checks |
| Reject | The candidate conflicts with the intended use, evidence, rights, safety, or budget | Preserve the record and choose a different approach |
- state camera distance, motion, damage, customization, and platform assumptions. Record the expected result before the check, then attach the observed result and any exception after it.
- inspect manifold structure, hidden surfaces, normals, and thickness. Record the expected result before the check, then attach the observed result and any exception after it.
- stress-test deformation before final detail. Record the expected result before the check, then attach the observed result and any exception after it.
- review UV seams, texel density, mirroring, and material count. Record the expected result before the check, then attach the observed result and any exception after it.
- import with production settings and compare counts. Record the expected result before the check, then attach the observed result and any exception after it.
- measure the asset as part of the full representative scene. Record the expected result before the check, then attach the observed result and any exception after it.
Expert Interpretation and Limits of This Game Assets & 3D Guide
The strongest conclusion this guide can support is a conditional production recommendation: use the workflow when its documented assumptions match the project, and keep the evidence needed to revisit the decision. We do not infer universal model quality, player preference, legal clearance, or performance from an official screenshot, a provider example, or a single successful asset.
Experience matters here because 3d structural modeling crosses creative judgment and implementation detail. The practical review should include the people who will edit the source, integrate the result, test it in play, maintain it after release, and answer rights or policy questions. A narrow expert handoff often misses problems that appear only when those responsibilities meet.
Before publishing or shipping, repeat time-sensitive checks against the current source and exact build. Preserve dated evidence, disclose the evaluation method, and distinguish measured results from editorial inference. That record is more valuable than a confident conclusion that future reviewers cannot reproduce.
| Claim type | Editorial treatment |
|---|---|
| Documented fact | Link to Unity model import settings and include the access date |
| Observed project result | Name the build, environment, sample, and method |
| Expert judgment | State the criteria, reviewer role, and tradeoff |
| Inference or forecast | Label it explicitly and describe what evidence could change it |
- There is no universal polygon budget independent of scene and platform.
- All-quad topology is not automatically efficient or deformation-ready.
- A clean wireframe can still produce poor normals, UVs, or material batching.
- Engine import may split vertices and change the practical runtime count.
Frequently asked questions
What makes topology game-ready?
It supports the required silhouette, deformation, shading, UVs, collision, runtime budget, and future edits without unnecessary structure.
Do game models need all quads?
No. Runtime meshes are typically triangulated. Quads can make editing and deformation planning easier, but the final triangulation still needs inspection.
What is a good polygon budget?
There is no universal number. Set budgets from camera distance, asset role, scene density, materials, animation, target hardware, and measured performance.
Why does my exported GLB have more vertices?
UV seams, flat-shaded edges, material boundaries, and format conversion can split vertices in the delivered mesh even when positions are shared in the modeling file.
When does edge flow matter most?
It matters where the surface deforms, where highlights must remain stable, and where a contour defines the asset. Flat hidden panels may need far less deliberate flow than a shoulder, face, cable bend, or wheel arch.
Can automatic retopology make a model game-ready?
It can create a useful starting mesh, especially for static forms, but it does not know every deformation, material, UV, hierarchy, collision, and editability requirement. Review and rebuild critical regions deliberately.
Should material boundaries follow topology?
They often benefit from logical edges, but every material split can affect primitives and draw cost. Balance authoring clarity and surface control with the runtime consequence in the complete scene.
How should LODs be approved?
Compare silhouettes, shading, animation, materials, and transition behavior at actual switch distances. Profile the scene with realistic instance counts and verify that lower LODs reduce the measured bottleneck.
Sources and further reading
- Blender glTF 2.0 manual
Official explanation of mesh conversion, vertex splitting, materials, skinning, and compression.
- Khronos glTF 2.0 specification
Normative reference for mesh primitives, attributes, materials, skins, and animation.
- Unity model import settings
Official engine documentation for model scale, meshes, geometry, and import options.
Next step